Creamy Coffee Swirl Nails Step by Step Guide
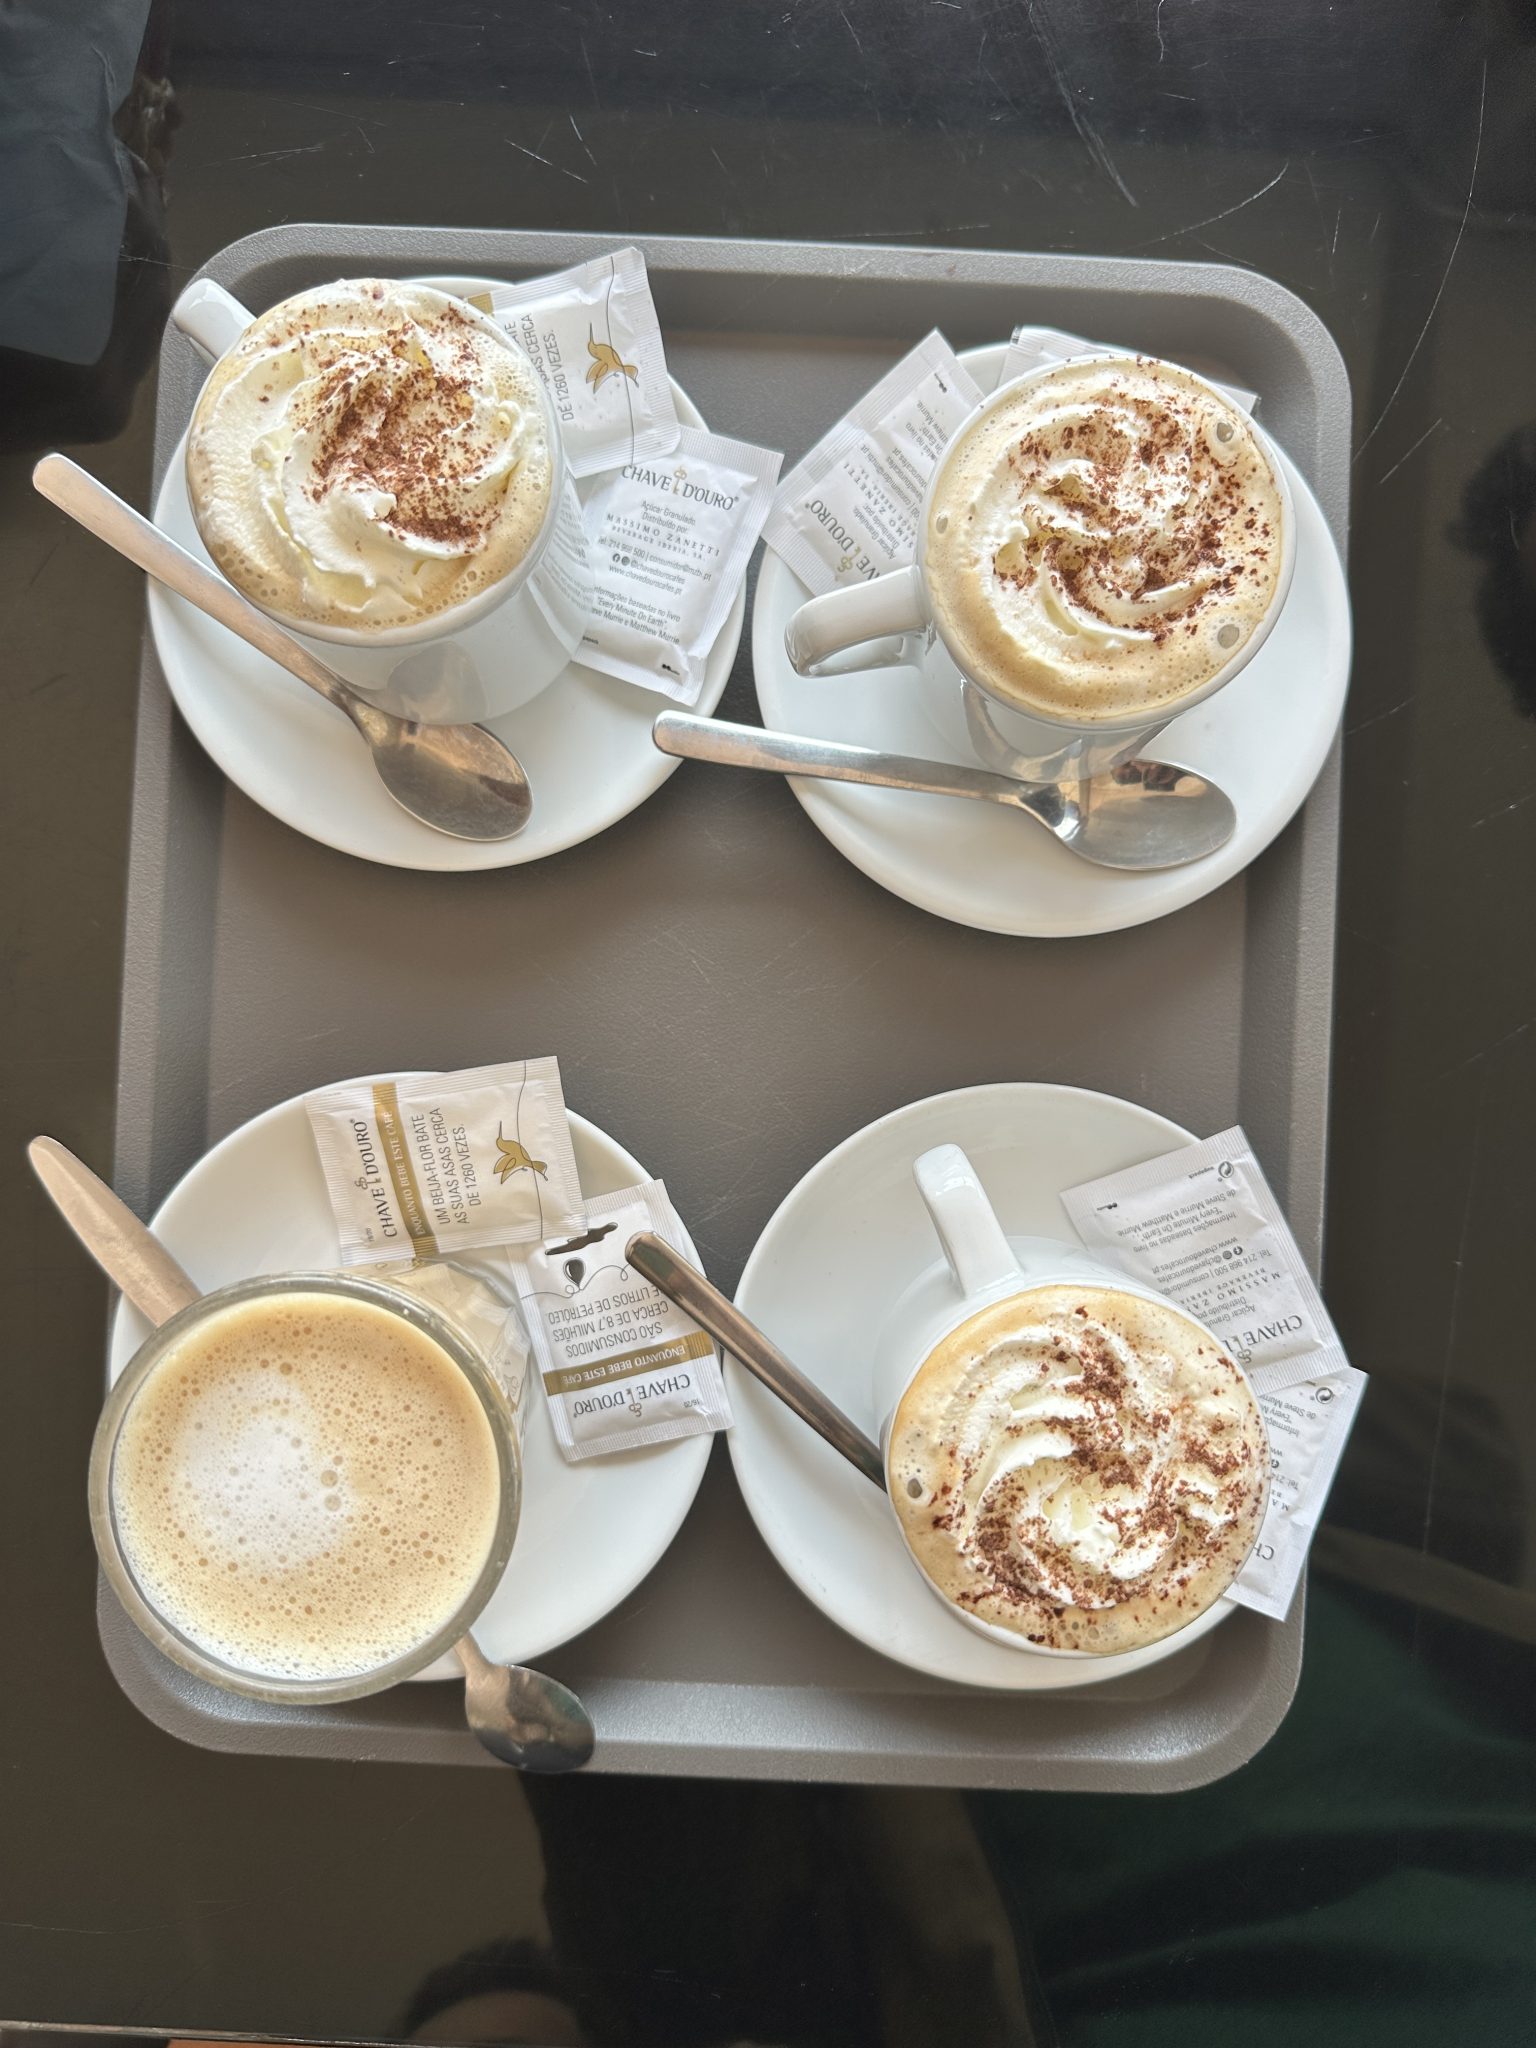
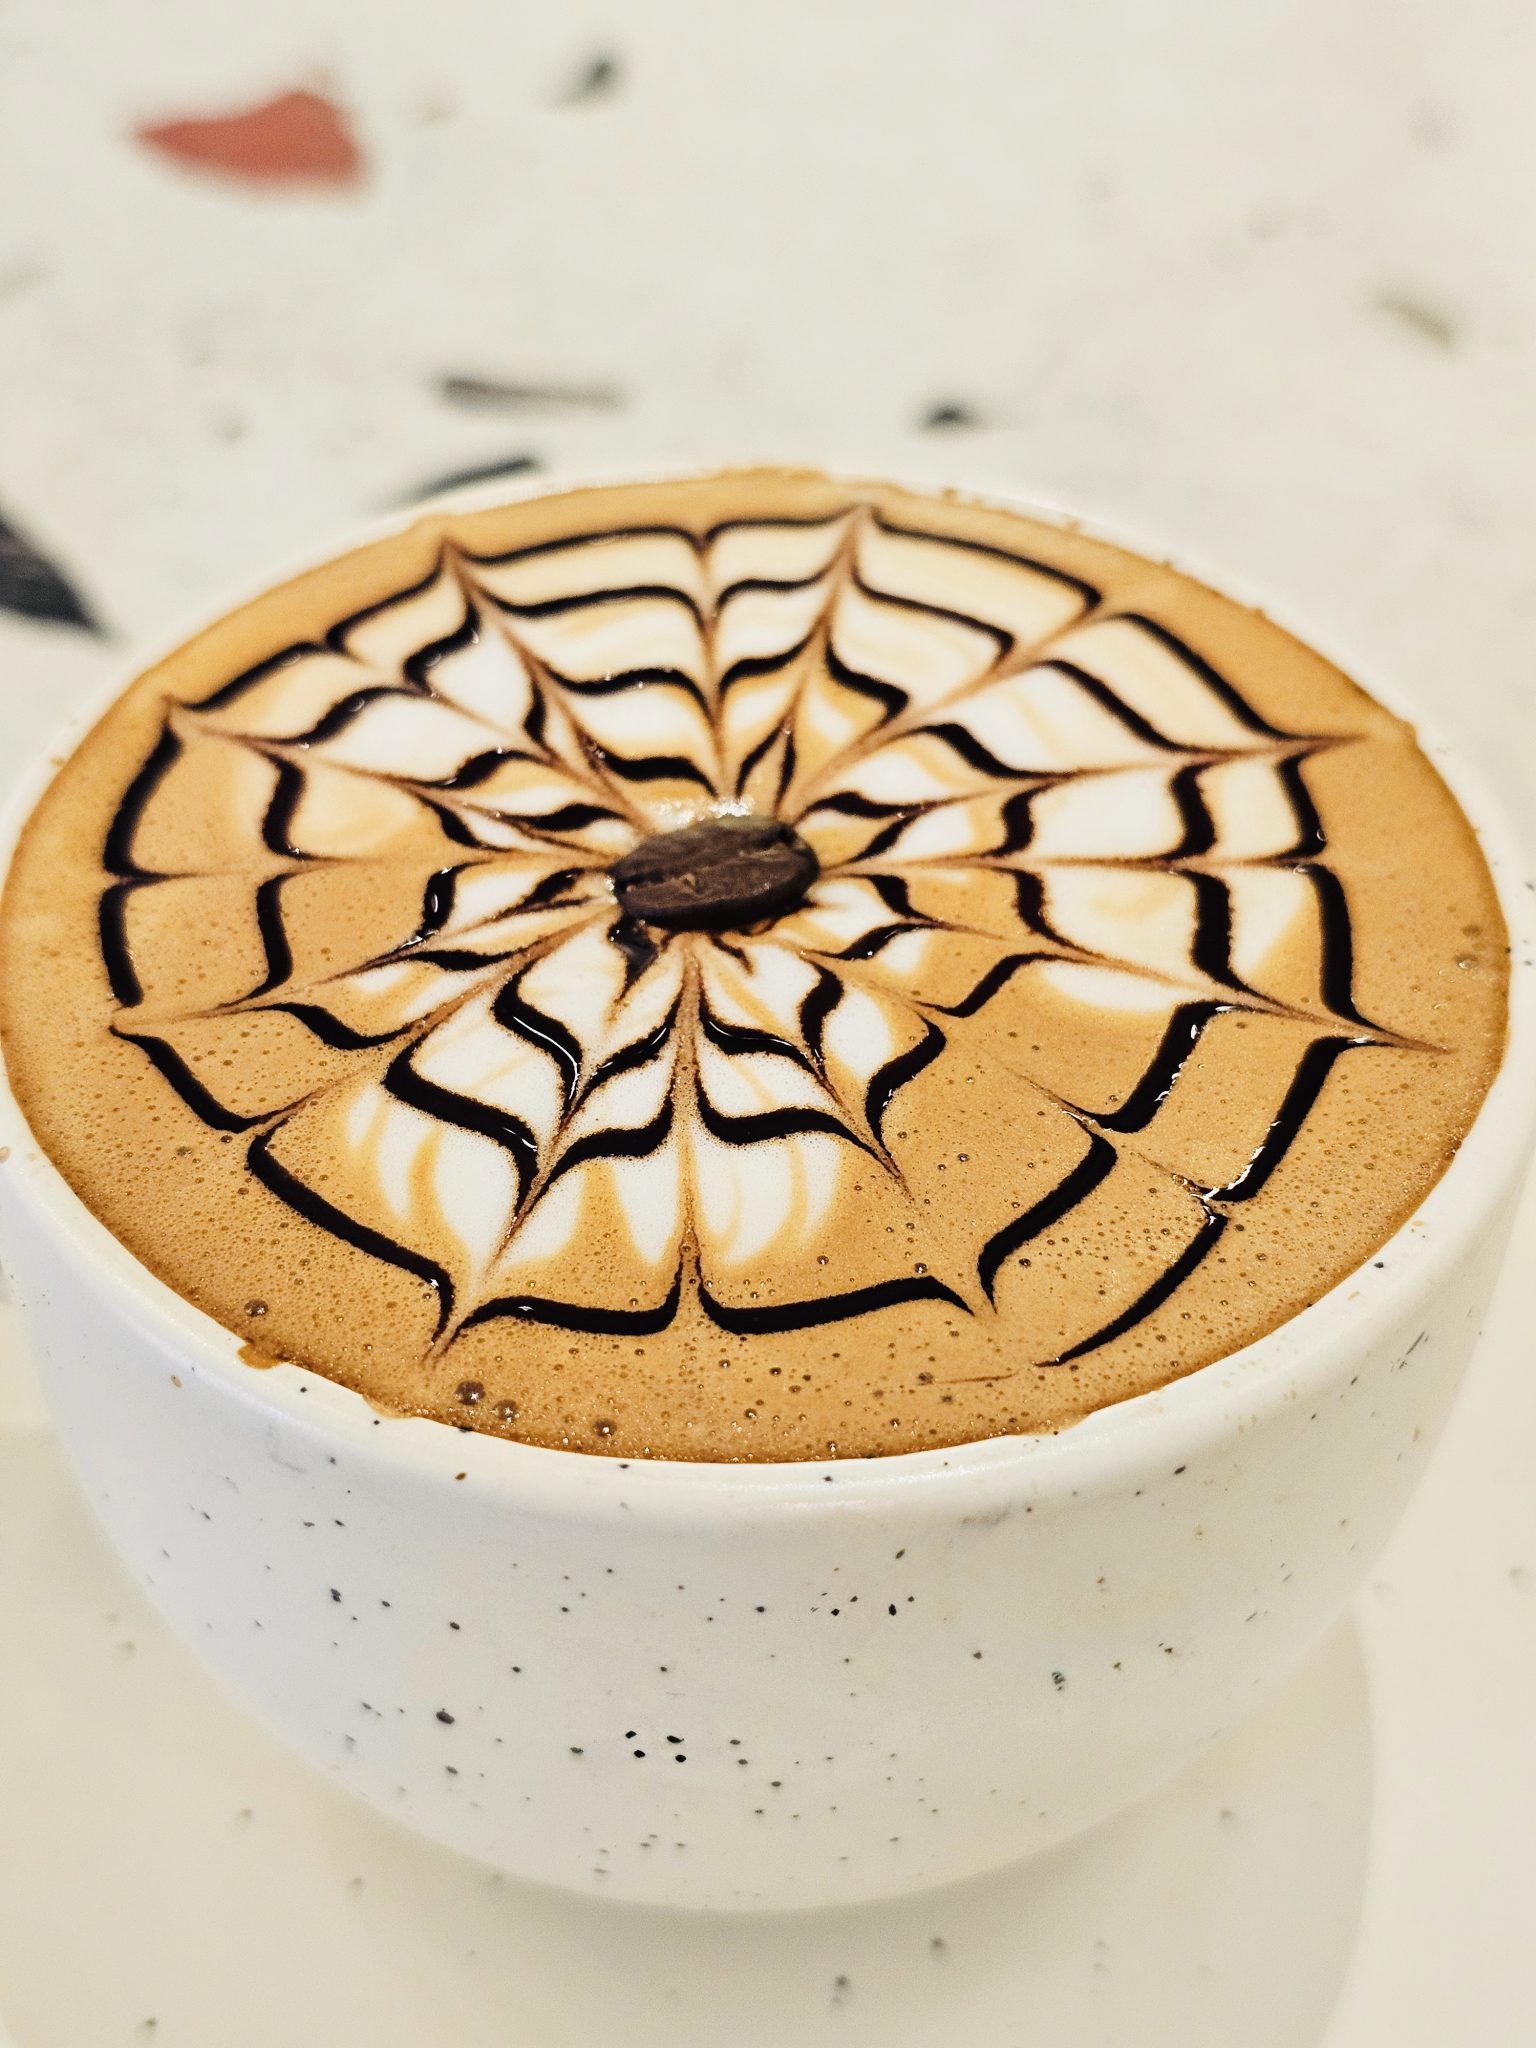
Creamy coffee swirl nails are taking over social media feeds this season. This warm design uses rich brown and soft nude shades mixed together to look just like milk pouring into cold brew. It looks fancy, but you can create it at home with just a few basic tools.
You do not need a salon visit to get this viral look. With a simple thin brush and a few polish colors, your hands will look ready for a autumn sweater photo shoot in under 30 minutes.
Why Coffee Swirl Nails Are Perfect for Pinterest
Warm brown tones look cozy and match almost every fall outfit. When you post your nails on social media, using a 16:9 widescreen photo ratio makes your art stand out. Widescreen images fill up mobile screens better and show off all the tiny line details clearly.
Many nail fans in the US and UK love this style because it works on short nails, long acrylics, or almond shapes. You can wear it to work or out for dinner on the weekend without it feeling too bright. It brings a nice pop of style while staying soft and neutral.
If you love cozy beauty trends, you might also like learning about heatless curls that actually hold for days to complete your weekly routine. Pairing soft wavy hair with warm nude nails creates an easy, put-together look for any day of the week.
Tools You Need Before You Start
Gathering your supplies first makes painting much easier. You do not need expensive gear, just a few basics from your local shop or online store.
- Base coat and top coat (glossy or matte)
- Dark espresso brown polish
- Creamy nude or off-white polish
- Medium caramel brown polish
- A fine line nail art brush or a wooden toothpick
- A small piece of foil to mix colors
Having a small dish of acetone next to your workspace is a big help. It lets you wipe off your thin brush quickly if you make a tiny slip up. Clean tools always make sharper lines.
Step by Step Guide to Painting Coffee Swirls
Take your time with each nail. Painting your non-dominant hand can feel tricky, but smooth strokes make a big difference.
Step 1: Prep and Base
Start with clean, dry nails. File them into your favorite shape and push back your cuticles gently. Apply one thin layer of base coat to protect your natural nails. Let it dry completely for about 2 minutes.
Step 2: Apply the Nude Background
Paint two coats of your favorite soft nude polish on all your nails. This acts as the creamy base for your artwork. Wait until this shade is mostly dry before you add the darker colors so they do not bleed into the background completely.
Step 3: Drop Your Paint
Put two big drops of dark espresso brown polish and two drops of cream polish right next to each other on a small piece of foil. They should touch slightly at the edges.
Step 4: Create the Swirl Lines
Dip the tip of your thin brush into both colors at the same time. Place the brush on your nail near the base. Drag it gently across your nail in a wavy "S" shape. Move up toward the tip of your nail in one smooth stroke.
Step 5: Fill in Extra Lines
Add one or two smaller thin lines using just the dark brown polish along the side of your main swirl. This gives your design depth and makes it look like real liquid mixing together. Keep your hand light so the lines stay thin.
Step 6: Seal with Top Coat
Let the design dry for about 5 minutes. Apply a thick layer of top coat over the whole nail. Floating the brush over the wet polish keeps it from smudging your hard work.
Learning modern Nail art takes a little practice, but getting the lines right gets easier by your third nail. Do not worry if every single swirl looks a little different. Real coffee swirls never look identical anyway!
How to Take the Best Pinterest Photo of Your Nails
Once your nails are dry, you want to take a picture that gets saved and shared. Set your phone camera aspect ratio to 16:9 in the settings before you snap your shot.
Natural window light is always best for hand photos. Direct sun can create harsh dark shadows, so step back into the room a few feet. Hold a cozy white mug or rest your fingers against a soft grey knit blanket. This adds texture and makes your post look warm and inviting.
Hold your hand flat or curl your fingers gently over your thumb. Keep your wrists relaxed so your hand looks soft in the shot. Try taking four or five pictures from different angles to see which light shows off your glossy top coat best.
To discover more fun nail ideas and trending color mixes for every season, check out our full collection of easy nail art designs and tutorials.
Keeping Your Swirl Design Fresh for Days
You spent time making these beautiful swirls, so you want them to last. Washing dishes or opening cans can chip your tips faster than you think.
Wear rubber gloves whenever you use strong cleaning soaps or do heavy housework. Apply a fresh layer of thin top coat every two days. This seals the tips of your nails again and keeps the gloss shiny for up to two weeks.
Rub a drop of cuticle oil around your skin every night before bed. It keeps your hands looking smooth and stops your polish from lifting along the edges. Healthy cuticles make any nail art look like it came straight from a luxury salon.
Give this warm style a try on your next cozy night in. Which shade of brown will you pick for your base color?


Comments
Post a Comment