Sage Green French Tip Nails: Step by Step Guide

Sage green French tip nails are taking over Pinterest right now. This fresh twist on a classic style looks soft, chic, and clean on any nail shape. You can create this beautiful look at home in under twenty minutes without spending a fortune at the salon.
To get this trendy look ready for your next photo, you just need a sage green polish, a sheer nude base, and a tiny detail brush. Painting a soft pastel edge gives your hands a calm vibe that goes with every outfit. Let us jump into the simple steps to craft these viral nails today.
What You Need for Pinterest Sage Green French Tip Nails
Getting your supplies ready before you start saves you from accidental smudges. You do not need fancy tools to get salon results on your living room table. Most of these items are probably in your bathroom cabinet right now.
Grab a good base coat, a sheer light pink or nude polish, and your favorite sage green shade. A bottle of creamy sage green polish costs about five dollars at most local drugstores. You will also want a thin nail art brush or some simple French tip sticker guides. A shiny top coat is the final secret to making the paint stick for days.
Working on clean hands makes a massive difference in how long your manicure lasts. Wash your hands with soap and dry them completely. Wipe each nail with a little rubbing alcohol on a cotton pad to remove natural oils. If you like soft pastel styles, you might also like our Peach Aura Nails: Step by Step Guide with Pinterest Photos for your next weekend project.
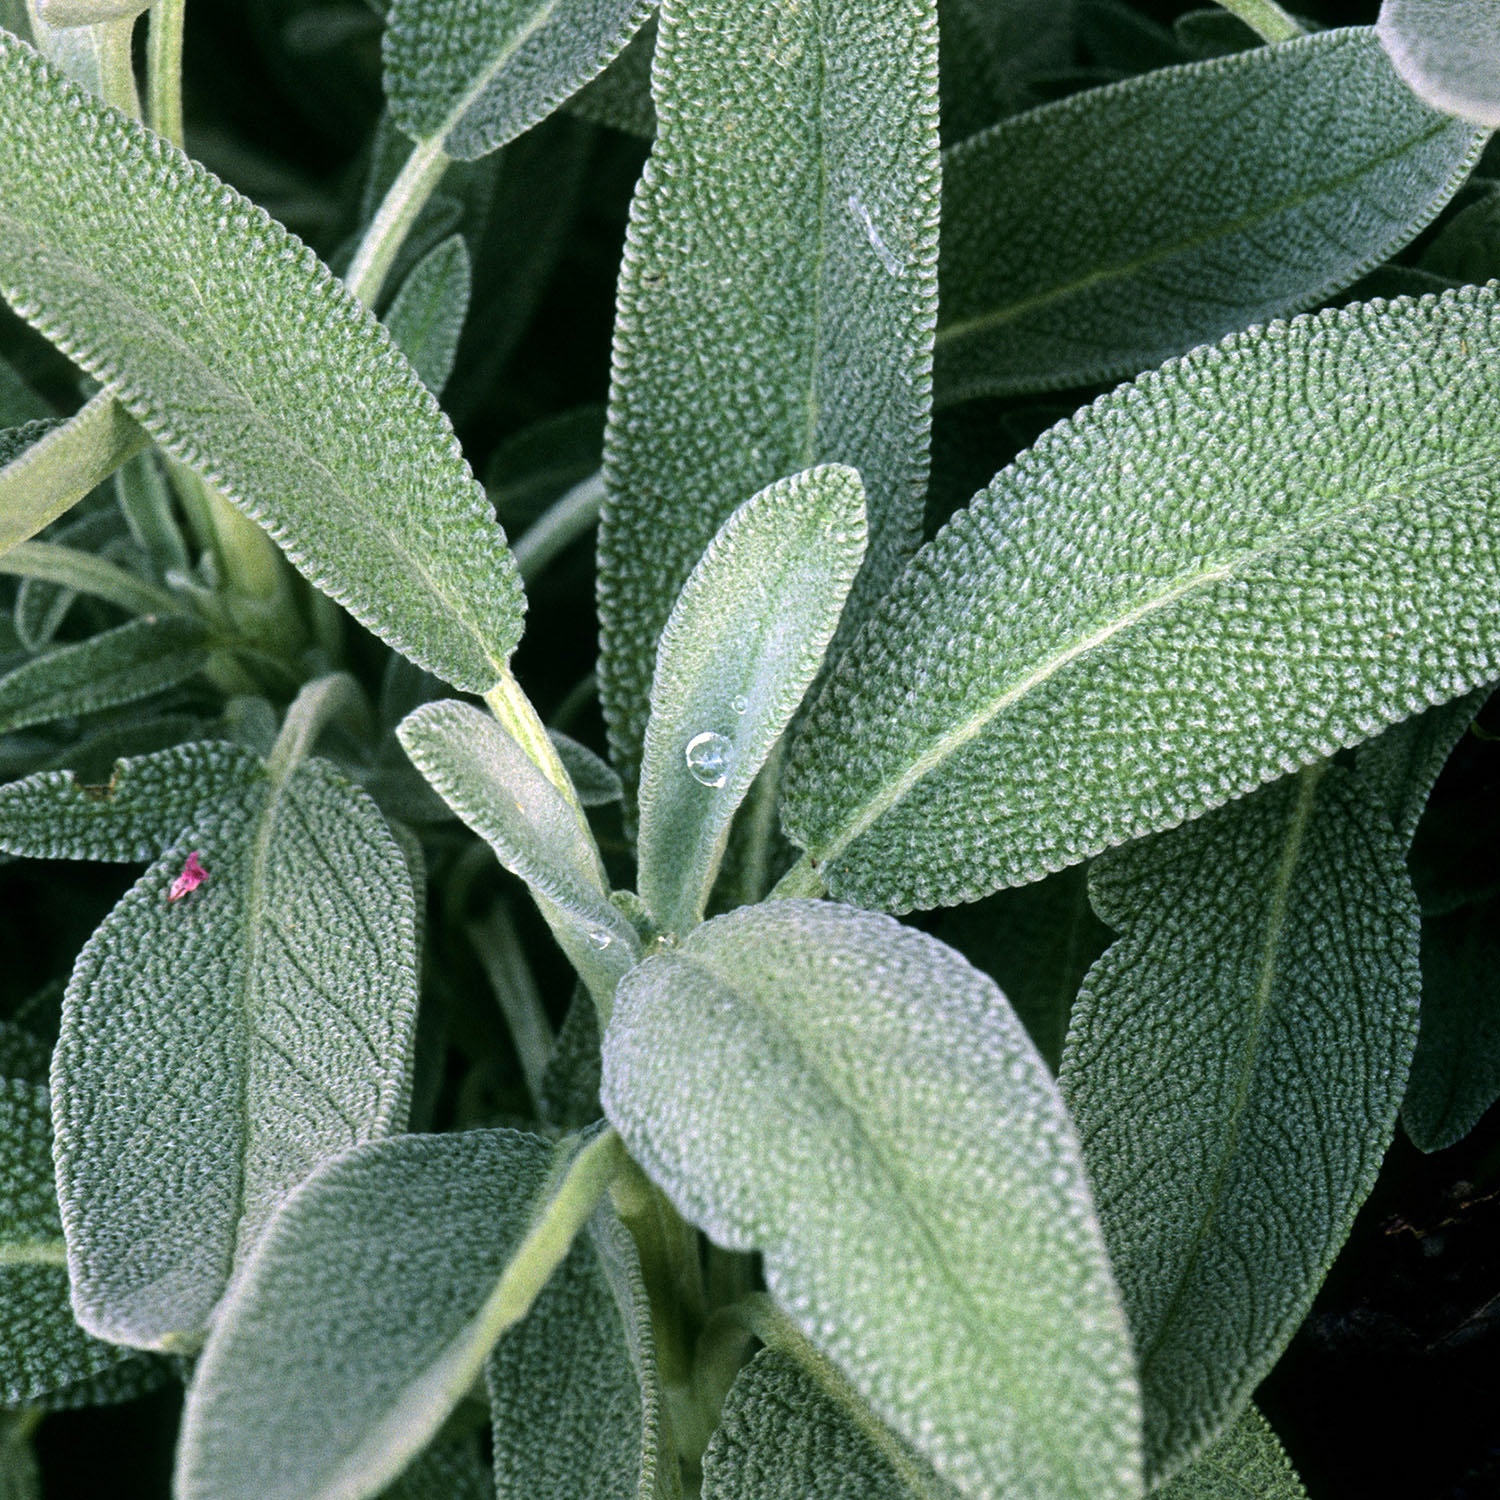
Step 1: Prep and Base Color Application
Start by shaping your nails with a gentle file. Oval and almond shapes look amazing with French tips, but square nails look great too. File in one direction so your natural nail does not split or weaken near the edge.
Apply one thin layer of base coat over all ten nails. This protects your real nails from staining and gives the color something to grip onto. Let it dry for two minutes. Patience during these first steps keeps the final look smooth and streak-free.
Next, sweep on your sheer nude or pale pink polish. One or two coats is plenty because you want your natural nail bed to look healthy and clear underneath. Wait about three to four minutes until this base layer feels dry to the touch before moving to the green tips.
Step 2: Painting the Perfect Sage Green Tips
Now comes the fun part that makes this design pop on social media. Open your sage green polish and wipe most of the liquid off the brush back into the bottle neck. You only need a small drop of color to paint your tips.
If you have steady hands, use a thin detail brush to trace a curved line along the top edge of your nail. Follow the natural curve of your fingertip. Start from the left side, swing down in a gentle arc, and meet in the middle from the right side. Do you find freehand painting tricky? You can stick a curved paper guide on your nail instead to seal off the bottom part.
Fill in the top space above your line with the sage green paint. Keep the layer thin so it dries fast without bubbling. If the green looks a little sheer, wait two minutes and add a quick second coat. Take a small brush dipped in nail polish remover to clean up any tiny slips on your skin before the paint sets.
How Do You Get 16:9 Photos of Your Nails for Pinterest?
Taking a great picture of your fresh set is key if you want to share your work online. Pinterest loves horizontal photos shot in a 16:9 ratio because they fill the screen smoothly when people scroll. You can capture professional shots with your regular phone camera using simple daylight.
Turn your phone sideways to hold it horizontally before taking the photo. Sit near a bright window, but stay out of direct sun rays to avoid harsh shadows. Hold a soft coffee mug, a cozy sweater sleeve, or a small plant pot to give your hands a natural pose. Check your phone settings to set your photo crop to 16:9, or trim the edges later in your photos app.
Rest your hands on a neutral background like a white desk, a stone counter, or a wooden tray. A clear shot with bright lighting makes the earthy green tips look warm and rich. You can find more creative inspiration by browsing our full nail design guides and tutorials collection to plan your next photo post.
Step 3: Sealing Your Manicure for a High Shine Finish
Once your green tips are completely dry, seal your artwork with a clear top coat. A plump gel-like top coat gives that glassy finish everyone loves to save on their beauty boards. It also keeps your color from chipping off while you cook, type, or work.
Apply the top coat over the entire nail, from the base down to the tip. Make sure to swipe the brush right over the front edge of your nail. Caping the edge seals the polish so water cannot sneak underneath when you wash your hands. For a fun read on how painting nails became a global trend, check out the history of Nail art to see how styles have shifted over time.
Give your nails at least ten full minutes to set hard. You can drop a tiny bit of cuticle oil around each nail bed to nourish your skin and give your hands a fresh salon glow. Your trendy sage green set is now completely finished and ready to snap for your feeds.
Will you try painting these sage green tips yourself this weekend? Try swapping the green for lavender or baby blue next time to build a whole collection of pastel pictures.


Comments
Post a Comment